Monday, April 9, 2012

Today I Learned...To Clean Up Spills Before Baking (Gluten-Free Mason Jar Corn Dogs)

As my obsession with mason jars continues, here's a delicious recipe that I first saw here and then made some changes. Enjoy!

Gluten-Free, Low-Cholesterol, Low-Fat Mason Jar Corn Dogs
(Try to say that five times fast!)


Ingredients
  • 3 cups self-rising corn bread mix (Bob's Red Mill Gluten Free mix)
  • 6 eggs (1 1/2 cups Egg Beaters--no cholesterol)
  • 1/2 cup light sour cream
  • 1/4 cup oil
  • 1 1/2 cups milk (use skim for lowest fat...I used 2% because it's all we have on hand)
  • 3/4 cup sugar
  • 6 hot dogs, cut in half
Miscellaneous Supplies
  • 12 8 oz. mason jars
  • cooking spray
  • large baking sheet with sides
  • stand mixer
  • spatula
  • 1/2 cup measuring cup
Instructions

Preheat to 375*F.


Mix all ingredients (except hot dogs) in stand mixer until smooth.


Cut hot dogs in half and put in VERY greased mason jars.


Put jars on baking sheet. Using 1/2 cup measuring cup, fill jars half way with corn bread mixture.


Wipe up any spills on the jars and baking sheet.


Bake for 20 minutes, or until corn bread is golden and toothpick comes out clean.


Let cool slightly, then run a knife around the edges of the jars.


Put lids on jars. Let cool completely, then put in freezer.

To reheat, thaw in fridge over night, then heat in microwave for 45 seconds.

After the jars have cooled some, the lids will seal themselves...yay! You'll hear a tiny POP from each one to tell you it's sealed. Make sure you wait a while to put in them in the freezer, since they are so hot from being in the oven.

The lesson:  Last time I made these, I didn't wipe up the spills on the outside of the jars. This made the jars REALLY hard to clean, since the spills baked onto the jars. This time, before I put them in the oven, I used a wet paper towel to clean up the outside of the jars. Ta-da! Super easy to clean the jars this time :D

Sunday, April 8, 2012

Today I Learned...How to use "Macro" on my camera (Lemon Sugar Hand Scrub)

In my craze about Mason Jars I came across this pin on Pinterest, which led me to this blog where I learned how to make Lemon Sugar Hand Scrub. I just made the recipe (with a few additions to make it gifty). Enjoy!

Materials


1 cup olive oil
2 1/2 cups white cane sugar
50 drops Lemon Essential Oil (or other EO of your choice)
5 4oz. mason jars with lids
5 plastic spoons (or other scooping thingy)
5 5" squares of springy (or whatever holiday) fabric
5 24" pieces of matchy ribbon
1 8oz. mason jar (for left overs)
hot glue gun


How It's Done


1. Mix the oil, sugar, and EO until a gritty paste forms.


2. Scoop the mixture into the small jars leaving only a tiny bit of space at the top. I had some left over, so I put it into an 8oz. jar for myself :) (Or......you can just put it all in one big jar if you are not making this as a gift.)


3. Clean off the edges of the jars and put the lids on. (At this point you can be done, or you can go on to step 4 to make the jars gifty.)


4. Put the small fabric squares between the lid and the ring of the mason jar. (Oh yeah...you can label them "Lemon Sugar Hand Scrub -- Antibacterial" because lemon EO is antibacterial...yay!)


5. Use the hot glue gun to adhere the ribbon to the jar so it won't slip around while you are trying to tie on the spoon. (I glued at the back and on both sides of the knot at the front.)


6. Tie on the spoon (for scooping out the scrub) and maybe a note (you know, to...from, Happy Birthday, etc.) And you are done!


The lesson: when I was taking photos for this post, I wanted a nice close shot of my labels. Here's what happened on the first attempt:


Oh no! All washed out. I reached back into my memory...there must be a way to keep this from happening! Indeed, there is. My camera has a macro setting, for very, very close up shots. So I changed the settings, and here's my second attempt:


Success! Much easier to read and not at all washed out.

One more lesson for today, when you ask your hubby to help take photos for your post...give clear instructions:


His favorite salt and pepper shakers. They really roll across the table!


Today I Learned...Have all your supplies ready BEFORE you start (Crockpot Candles)

As I type this post, I am enjoying the scent of a candle I made in my Crockpot! I first learned how here and it really is easy...and SO much cheaper than buying candles.

Materials
Crockpot
Glass containers (I used 4 oz. mason jars--12 for ~$8 at HEB)
Soy wax flakes ($9.99 for 2 lbs. at Hobby Lobby--1 lb of soy wax flakes will make about 16 oz. of candle)
Pre-made wicks long enough for your containers (I used 3.5" wicks $2.69 at Hobby Lobby)
Essential oils or fragrance oils (I used 4 different scents: peppermint essential oil, eucalyptus essential oil, vanilla fragrance oil, gardenia fragrance oil--price varies depending on the oil ~$5 per oz.)
Popsicle sticks
Plastic spoon

Total project cost (about $20...the soy wax was on sale 30% off, I already owned the essential oils, so I don't consider those a cost for this project, and I only used 4 of the 12 jars I bought) That's only $5 per candle! It would be even cheaper to reuse jelly jars, etc. Plus, you get to control how strong the scent is...and it's all natural!


How It's Done

1. Put your glass containers in the Crockpot (leaving space between them...no stacking!) and spoon wax flakes into them leaving about 1/2 inch of space between the top of the container and the top of the wax flakes. Turn the Crockpot on to high and walk away (If you can stand it! I checked back every five minutes because I was so excited!).

2. In about 25-30 minutes, check on your candles. You will notice the wax is no longer 1/2 an inch from the top of the container...add some more wax flakes and check in about 5 more minutes. Keep adding until you reach the 1/2 inch mark.

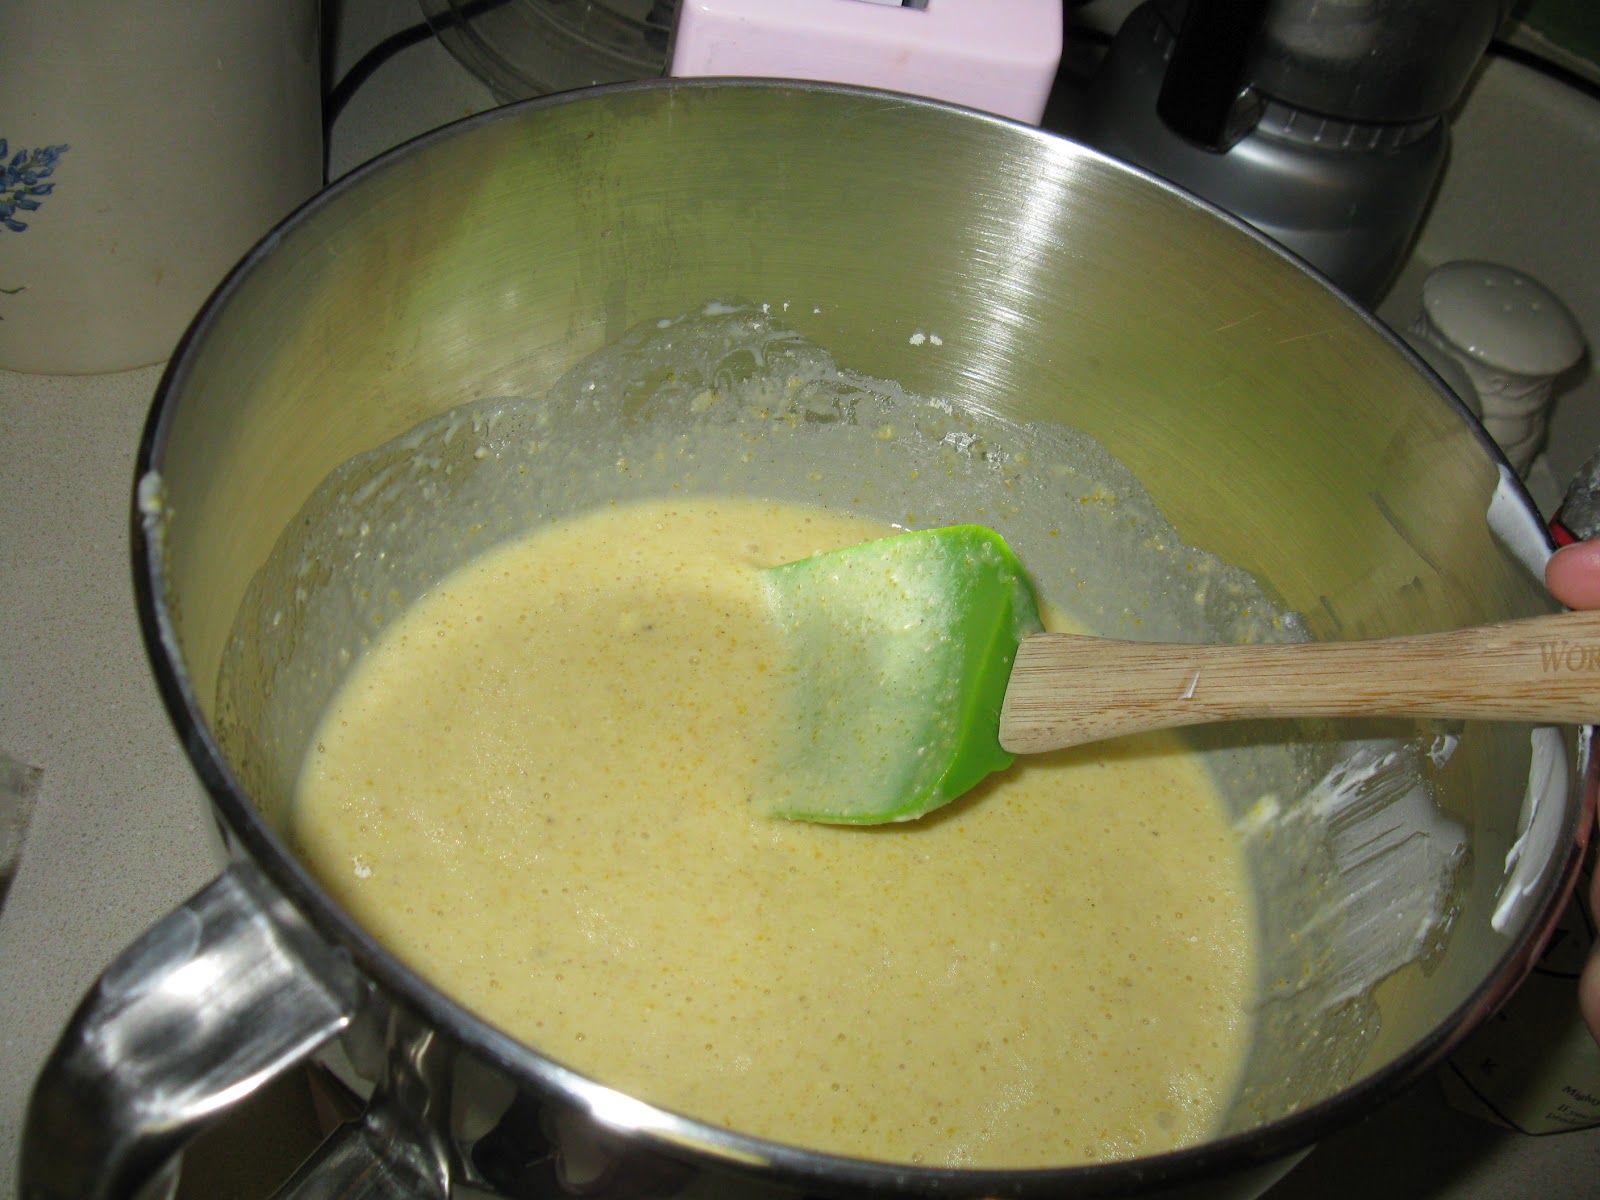
3. Now it's time to add fragrance and/or dyes. About 5 drops of essential oil will do for the 4 oz. mason jars, but more will be needed for larger candles. The fragrance oils will need a bit more...about 10 drops for the 4 oz. jars. Stir with the plastic spoon or a Popsicle stick (be sure to wipe off the stirring device between candles if you are using different scents). You can turn off the Crockpot now. (I did not use dyes, so I'm not sure how much you'll need. Follow package instructions.)

4. Add wicks! Carefully line up a wick in the center of each container (my jars have some kind of marking in the center, so it was easy to center the wicks). You may want to cut a notch in the Popsicle sticks to help hold the wicks in place, but mine worked well just resting on the sticks.


5. Let your candles rest and set for about 3 hours. Then they should be set enough (and cool enough) to remove from the Crockpot. Let them completely set for at least 6 hours (overnight) before lighting them. Be sure to label if you made more than one scent.

6. If you used mason jars, you can make the candles even better by adding a little square of fabric to the lid like this:


Wouldn't these make cute gifts?! I cannot wait to share them with friends :)

The lesson: Make sure you have all the supplies ready and in the kitchen with you BEFORE you start. I found myself running to the garage (where I store my crafting supplies) to frantically search for Popsicle sticks to hold up my stubborn wicks. Thankfully, the wax was hot enough that it did not harden in the time I took to find the sticks and get back to the kitchen. Another thing I would add to this...label your sticks with the scent you are using in each candle so you don't forget which is which.

Today I Learned...Measure Twice, Cut Once (Homemade Roman Shades)

Yeah, I know, it's a cliche! But really, if I hadn't double checked my measurements, I would have wasted two yards of fabric and been stranded halfway through a project with no blinds on my kitchen door.

It all started on Pinterest! I searched "DIY Curtains" and found several tutorials on how to make Roman shades out of mini-blinds and fabric. I used this one, and this one, and this one.

Here's before, no color, just plain white mini-blinds (valance on the right made by my lovely sister!):


 And after, the Roman shade is wonderful!


The fabric for the Roman shade is the same as the ties on the valance to the right...I like for things to match but not be identical.


And when they're pulled up, you can see the smoker where my husband makes the best smoked brisket EVER. :)


The lesson: I was about to sew the hems on the sides (I did not do "no sew") when a small voice said, "You should make sure you measured correctly." I put one of the slats from the mini-blinds up to the fabric and it was a quarter inch too short! Thankfully, I had only done the ironing of the hems and was able to re-iron and then sew properly!